Today marks 7 years that I’ve had this blog account, and although I haven’t used it much lately, I’m not ready to let it go. Hopefully I can find the time to update it more regularly!
The
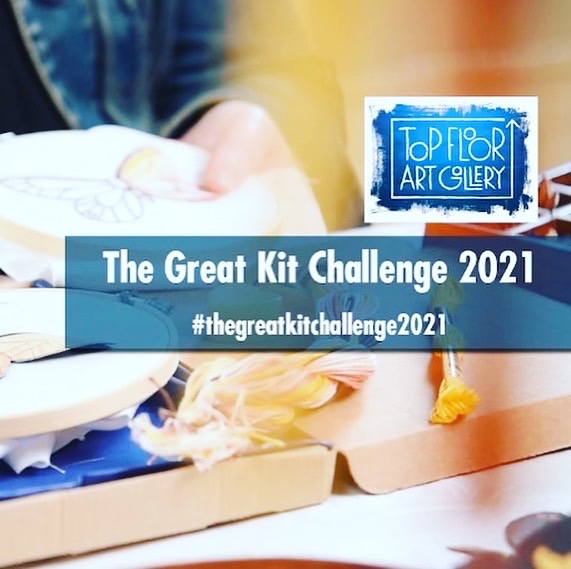
Great Kit Challenge
2021
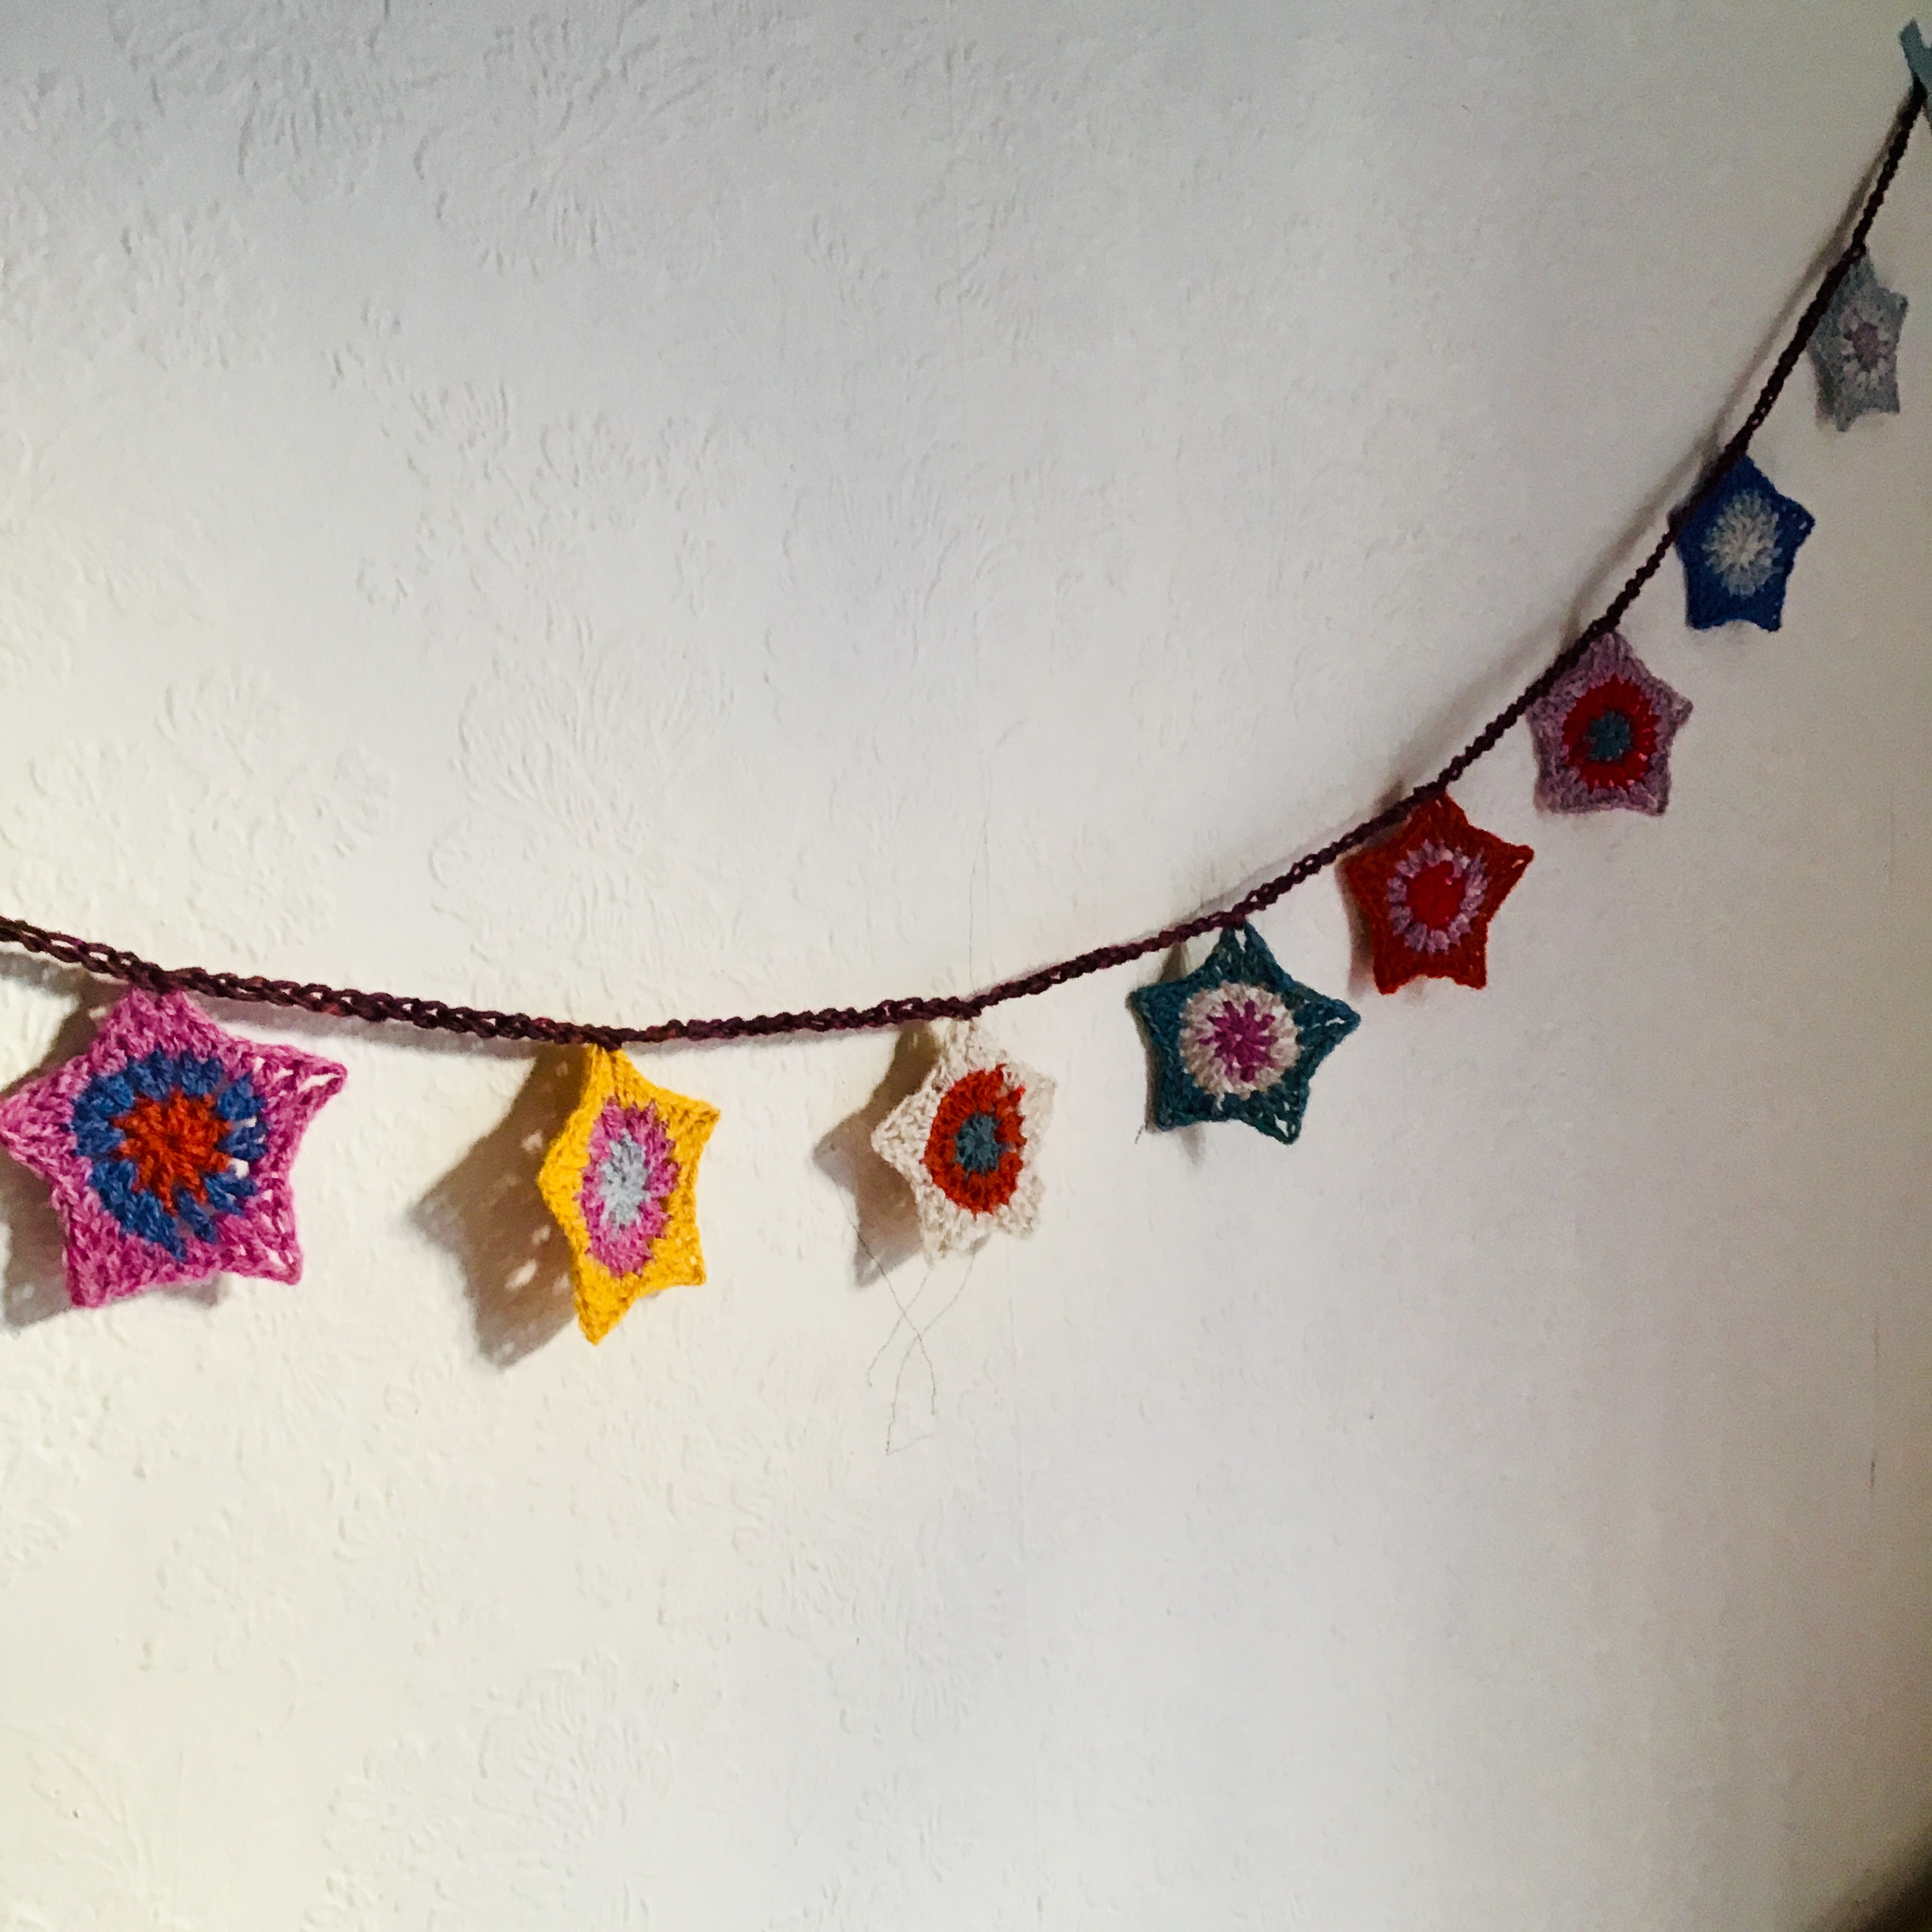
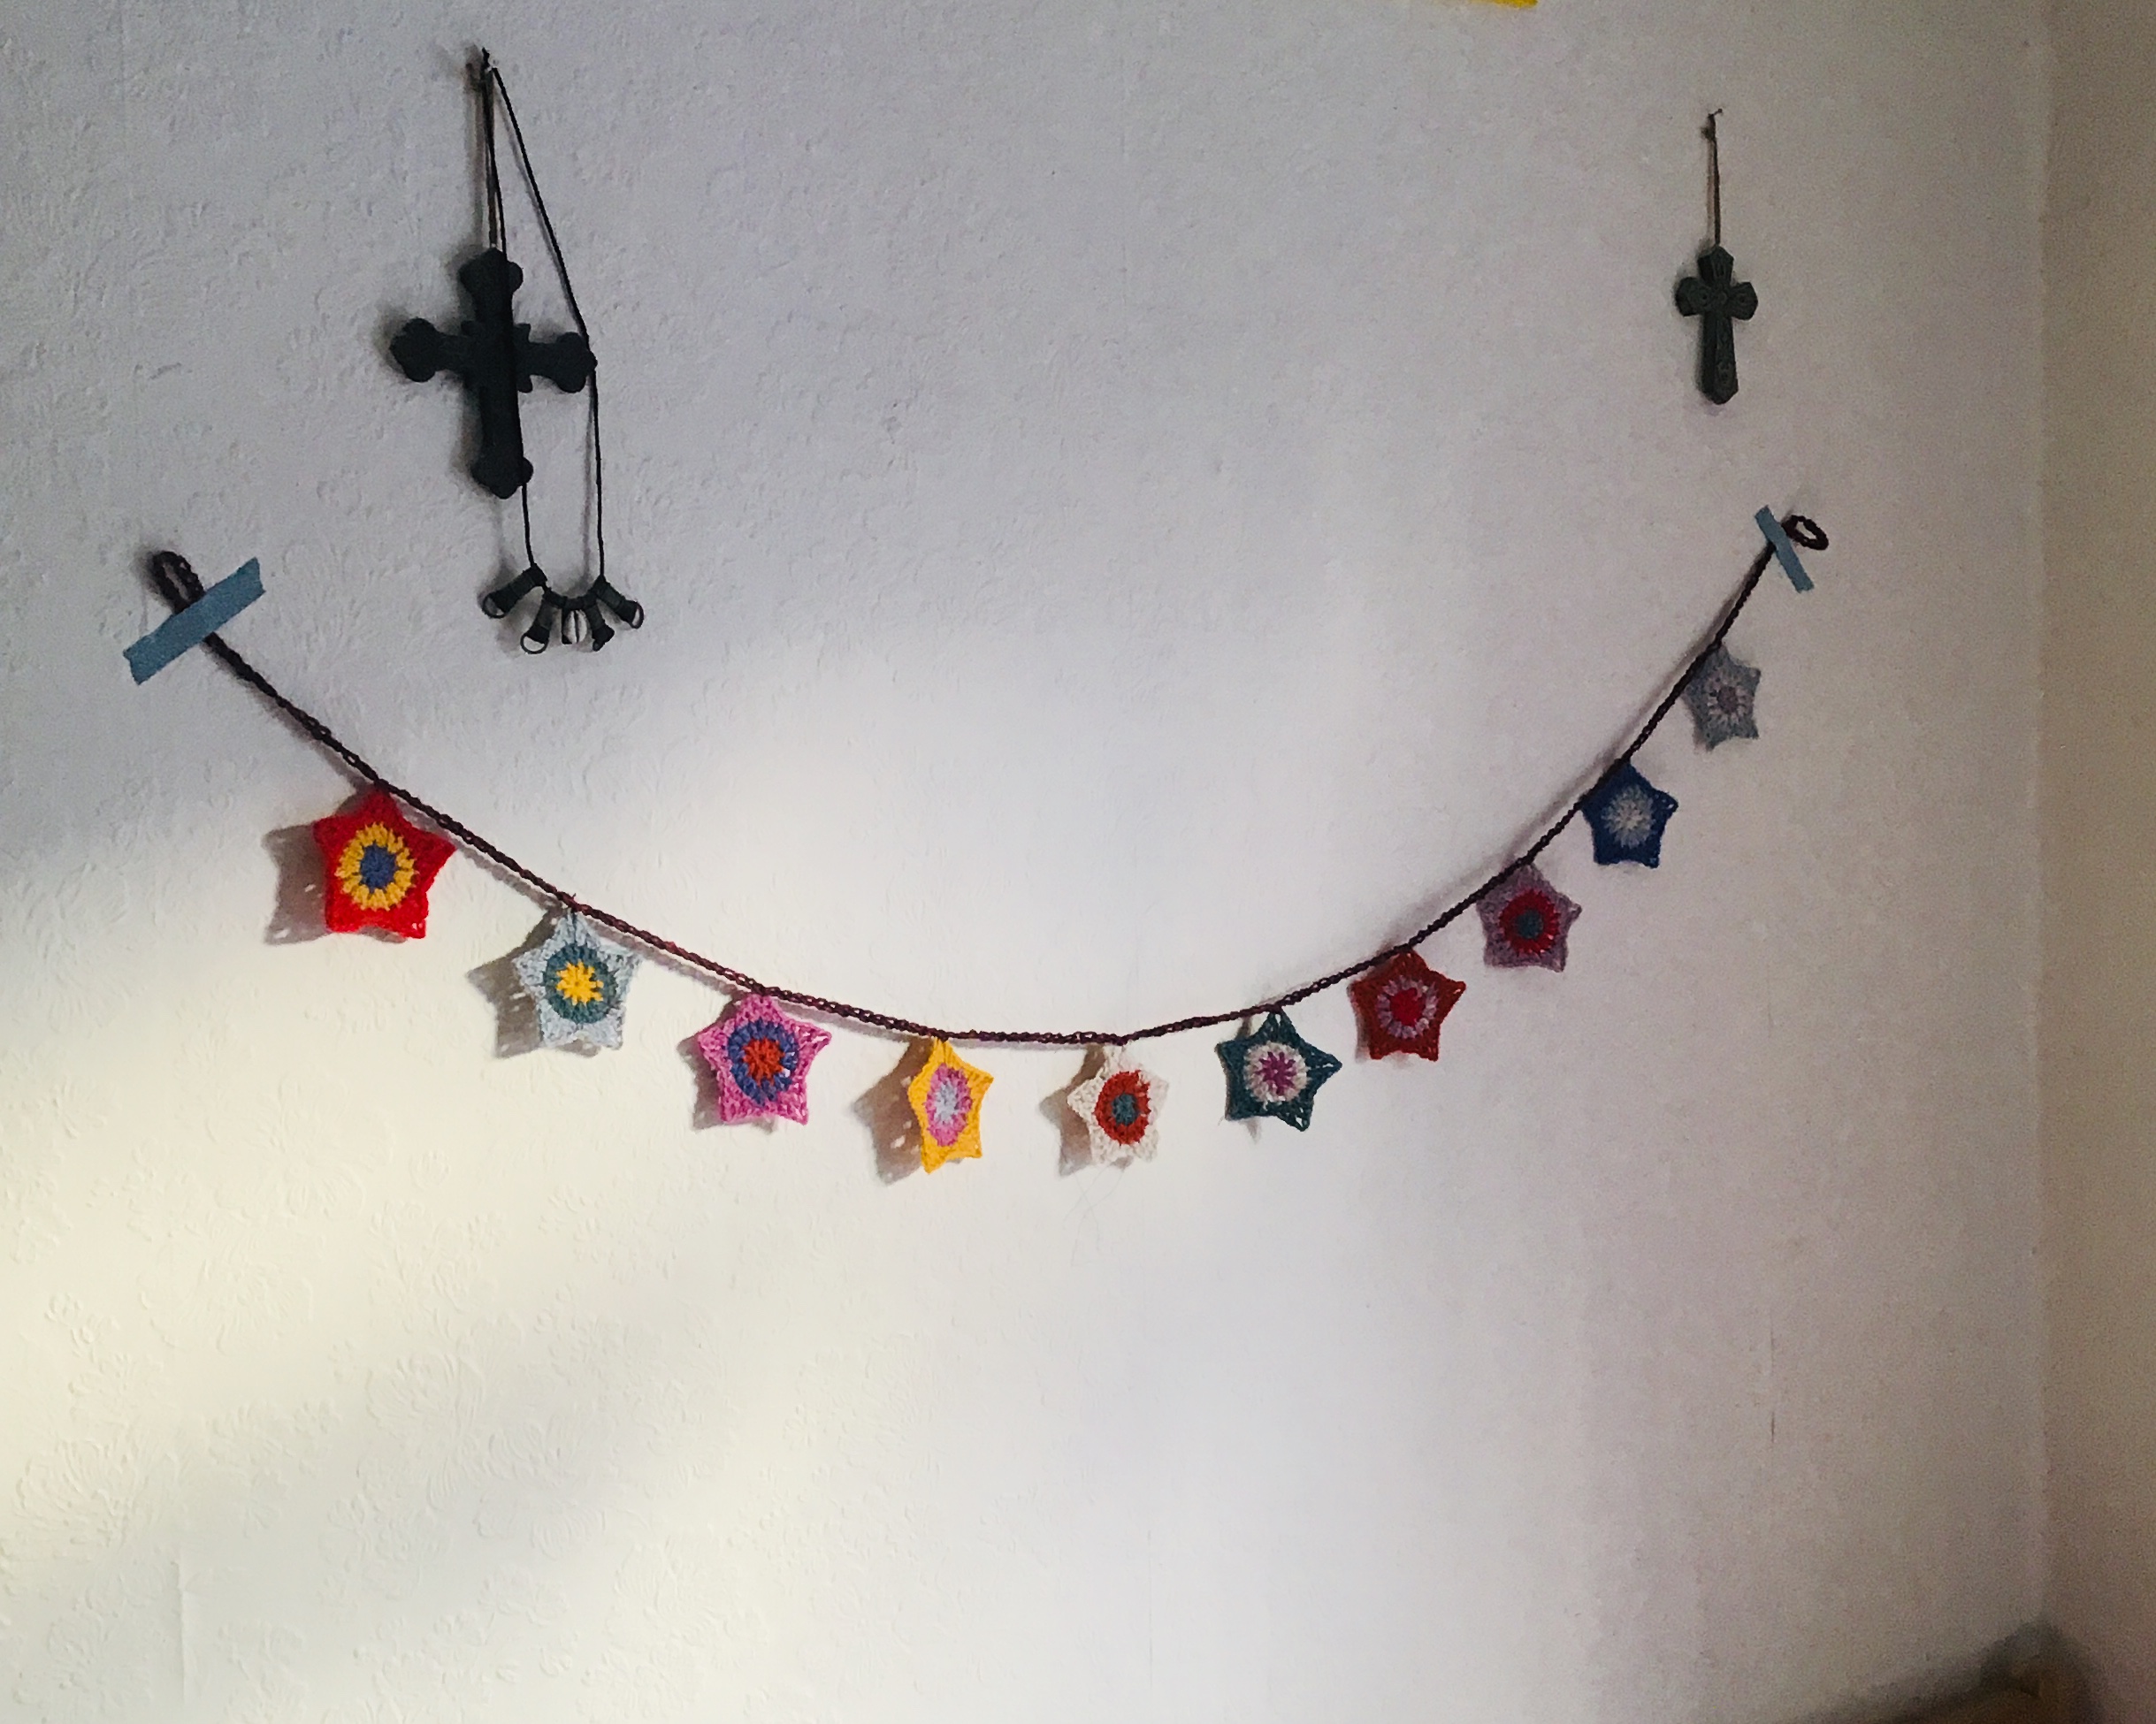
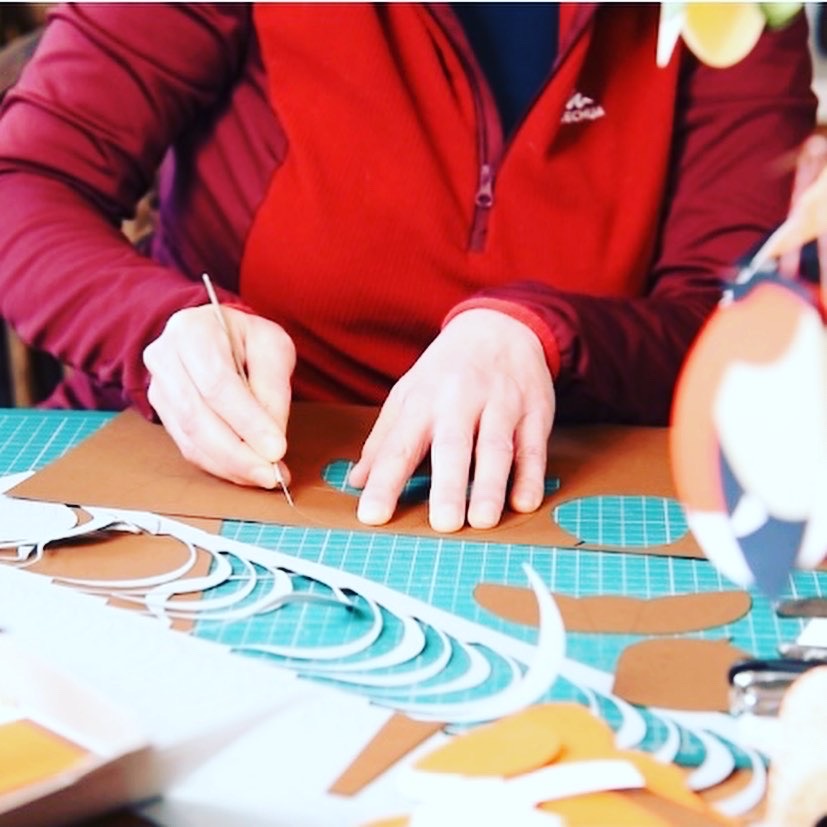
In any case, today I have an awesome bit of news to share. I’m delighted to talk about the Great Kit Challenge 2021, a project that was conceived by Emma Whitehead to help support artists and makers to realise their dreams of developing and creating kits to share with the public or community groups. Each kit has flourished from the imagination of these makers, and after putting their proposals to paper, they have been chosen to go on to create a kit demonstrating and teaching their craft to others. Some of these crafts include crochet, learning to manipulate wire into sculptures, stitching patchwork hexagons, papercraft, and more. And just some of the skills they will learn and perfect in this process include presentation, photography and marketing, branding, budgeting, packaging, and methods of teaching in the era of Covid-19 (ie., teaching over Zoom, through video or photographic illustrations, etc.). This is a huge undertaking and they’re already hard at work!
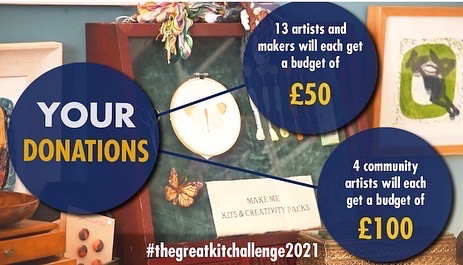
There are 2 categories in our project:
The first is Individual, where we support an artist to make their prototype and get professional feedback about all aspects of the process, including, marketing, and getting their kit ready for sale to the public.
The second is Communities, where an artist designs a kit for a specific community group and gets our support to create a safe and appropriate creative experience at no cost to the group members.
But here’s where you come in: we need your help to make this succeed. With your donations and support, we can make these kits come alive. Not only will these kits become items for sale (or as part of a community group project), but there will be an exhibition in August at Top Floor Art to celebrate all their hard work and to see the stages of the process. We are looking for small donations that will make a big impact for our artists and makers. All likes, shares, comments, and donations, no matter how small, are welcome!! These donations will help fund materials, exhibition set up costs, mentoring and project management, marketing, and other sundries. For a breakdown of our budget costs, please visit Top Floor Art and to watch a brief video (starring me and Emma!!) about the project that explains it more in depth, click here. Most importantly, to donate to this effort and help local artists and makers develop skills to support and maintain their businesses during these changing times, please click HERE!
And please feel free to SHARE!